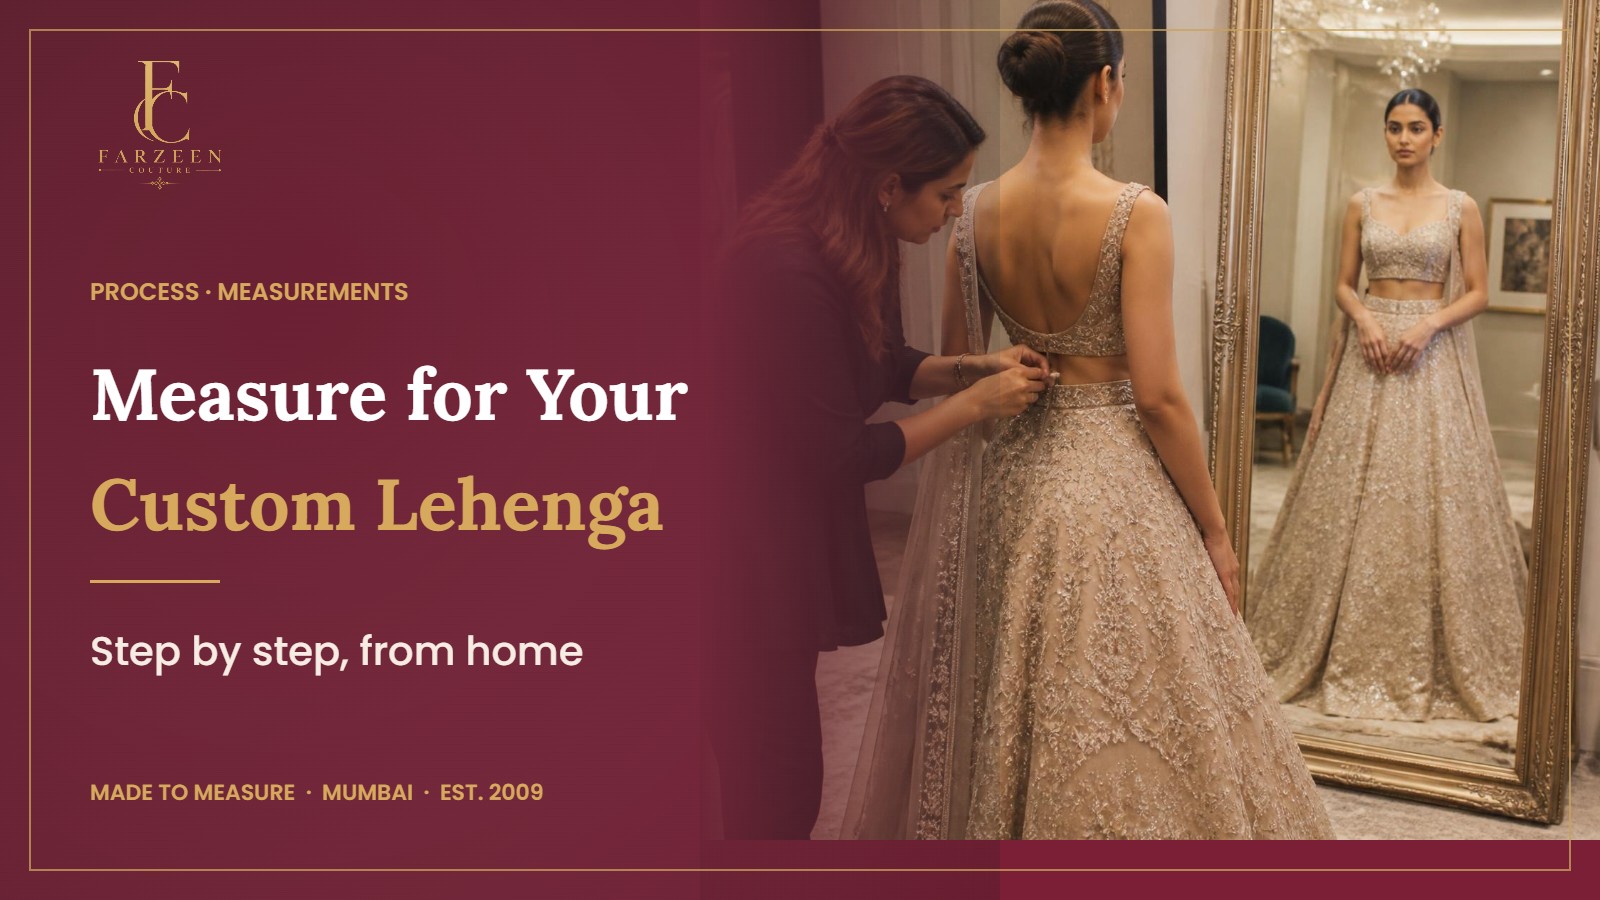
Measurements for a Custom Lehenga: How to Measure at Home
Process
By Farzeen Lala · Published
You have found the design, the dates are fixed, and now the atelier asks for your measurements. Suddenly a tape measure feels like an exam. Where exactly is the natural waist? Do you measure in heels? And what happens if one number is wrong?
The good news is that measuring for a custom outfit is simple when you know what each number is for and take it calmly, with a little help. This guide lists the measurements needed for a custom lehenga, blouse and sherwani, explains how to take each one at home step by step, and shares the small habits that help a made-to-measure outfit fit well from the first fitting.
Why Measurements Matter So Much in Couture
A ready-made outfit is cut to a standard size and then altered. A couture outfit works the other way round: the pattern is drawn for your body from the start, using your own numbers. That is why a made-to-measure lehenga can sit exactly where you want it at the waist, and why a blouse can follow the line of your shoulders without gaping.
It also means the numbers you share shape everything that follows. Embroidery is planned around the pattern, so the motifs on a blouse and the border of a skirt are placed for your size. A few careful minutes now make your fitting calmer later. To see where measurements sit in the full journey, read how your couture is made.
What You Need Before You Start
A soft tailor's tape: a cloth or plastic tape, not a metal one. Check that it starts at zero right at the end.
A helper: a friend or family member. Measuring your own back, shoulders and lengths accurately is very hard.
The right underlayers: wear the bra you plan to wear on the day, or one with a similar shape, and any shapewear you will wear under the outfit.
Your shoes: the shoes you will wear for the function, or a pair with the same heel height. They change every length measurement.
Light, fitted clothing: measure over a thin layer, never over a sweater or a thick kurta.
Paper or your phone: to note each number as soon as it is taken, along with the unit, inches or centimetres.
Measurements Needed for a Custom Lehenga
A lehenga has two parts that need measurements: the skirt and the blouse. The dupatta is usually made to a length that suits draping, and you can discuss it at your consultation if you have a particular drape in mind.
The lehenga skirt
Waist: measure around the natural waist, or exactly where you want the lehenga to sit. Some brides like it at the natural waist and others slightly lower, so decide first and then measure at that line.
Hips: stand with your feet together and measure around the fullest part of the hips.
Skirt length: wearing your shoes, measure from the waist line you chose straight down to the floor. Your helper should kneel to read the tape at the floor, so you can keep standing straight.
The blouse (choli)
Bust: around the fullest part of the chest, keeping the tape level across the back.
Under bust: around the ribcage, just below the bust.
Waist: around the natural waist.
Shoulder: across the back, from one shoulder point to the other. The shoulder point is the bony edge where the shoulder meets the arm.
Armhole: around the top of the arm, where the sleeve joins, with the tape passing under the arm.
Sleeve length: from the shoulder point down to where you want the sleeve to end, whether that is a short sleeve, the elbow or the wrist.
Blouse length: from the shoulder down to where you want the blouse to end.
Neck depth: from the base of the neck down to where you want the front neckline to fall, and then the same for the back neckline.
Neck depth is as much a design choice as a measurement. Before you take it, think about your bridal necklace and how much of your back you would like to show. Deciding on your jewellery early helps the neckline and the necklace work together.
Measurements Needed for a Custom Sherwani
Grooms, fathers and brothers need a slightly different set. Ask a helper to take these too, with shoes on for the lengths.
Chest: around the fullest part of the chest, with the arms relaxed.
Waist: around the natural waist.
Hips: around the fullest part of the hips.
Shoulder: across the back, from one shoulder point to the other.
Sleeve length: from the shoulder point down to the wrist.
Sherwani length: from the base of the neck at the back down to where you want the sherwani to end.
Neck: around the base of the neck, keeping the tape comfortable rather than tight.
Churidar waist and length: the waist where the trousers will sit, and the length from that waist down to the ankle.
For help with the style itself, from fabric to colour, see our groom sherwani guide.
How to Take Your Measurements at Home, Step by Step
Choose a calm moment: measure when you feel like your usual self, not straight after a large meal.
Dress the part: put on your underlayers and shoes, and tie long hair up so the neck and shoulders are clear.
Stand naturally: feet together, shoulders relaxed, looking straight ahead. Do not breathe in or stand unusually straight.
Keep the tape level: for every round measurement, your helper should check that the tape is flat and parallel to the floor all the way round, especially across the back.
Snug, not tight: the tape should rest on the body without pressing in. If it leaves a mark, it is too tight. Do not add extra inches yourself, because the ease for the design is added when the pattern is drawn.
Write it down at once: note each measurement as it is taken, with the unit beside it.
Measure twice: take every measurement a second time. If the two numbers differ, measure a third time and share the number that repeats.
Add reference photos if asked: a front, side and back photo in fitted clothing can help the designer read your numbers alongside your posture. Share these only with your atelier.
Common Measuring Mistakes to Avoid
Measuring yourself alone: self-measured backs, shoulders and lengths are often a little off. A helper makes a real difference.
Forgetting the shoes: a lehenga measured barefoot can end up too short once you are in heels.
Mixing units: half the numbers in inches and half in centimetres causes confusion. Pick one unit and label it.
Adding a little extra: leave the ease to the atelier. Extra room added at home can make the finished outfit loose.
Guessing a number: if you are unsure about one measurement, ask. A short message is always better than a guess.
Keeping old numbers: if your body changes before the wedding, tell the atelier instead of hoping the first set still works.
Measuring from Abroad or Over a Video Call
If you live outside Mumbai, you do not need to visit to have an outfit made to measure. You can measure at home using the checklist on our worldwide orders page, or the atelier can guide you through each measurement on a video call, one step at a time. On a call, keep your phone or laptop at chest height, stand in good light and ask your helper to hold the tape where the camera can see it.
Ask at your consultation how fittings and final adjustments will work for you. Our guide to ordering couture from abroad explains the whole process, from your first message to delivery.
When to Take Your Measurements
Measurements are usually shared once the design is agreed and before the pattern is drawn. If you expect your body to change, for example through a fitness plan before the wedding, mention it at your consultation so the plan can allow for it. Timelines in the industry vary with the design and the amount of handwork, and the atelier confirms your timing at the consultation. Our guide on how far in advance to order your bridal lehenga helps you plan backwards from your date.
Frequently Asked Questions
What measurements are needed for a custom Indian wedding outfit?
For a custom lehenga you need the waist, hips and skirt length for the skirt, plus the bust, under bust, waist, shoulder, armhole, sleeve length, blouse length and front and back neck depth for the blouse. A custom sherwani needs the chest, waist, hips, shoulder, sleeve length, sherwani length and neck, along with the churidar waist and length.
Can I take my own measurements for a bridal lehenga at home?
Yes, you can take your measurements for a bridal lehenga at home with a soft tailor's tape and a helper. Wear the underlayers and shoes you plan to wear on the day, measure every number twice and write it down with the unit. If you are unsure about any measurement, the atelier can guide you through it on a video call.
Should I measure in inches or centimetres?
Either is fine. What matters is that every measurement uses the same unit and that you clearly note which one it is.
Do I need to wear heels when measuring for a lehenga?
Yes, for the skirt length. Wear the shoes you plan to wear on the day, or a pair with the same heel height, because the heel changes how long the lehenga needs to be.
What if my measurements change before the wedding?
Tell the atelier as soon as you know and share the updated numbers. Fittings are there to fine-tune the outfit, and early notice gives the team the best chance to adjust the fit.
Have It Made for You
Good measurements are the quiet start of a beautiful fit. Take them calmly, take them twice and ask whenever something is unclear. Farzeen Couture is a bespoke bridal and couture house at Mazgaon, Mumbai, making every outfit by hand to the client's own measurements for clients in India and around the world. Explore our bridal couture, then start your design through Custom Made Now, book a consultation, or message us on WhatsApp and we can go through your measurements with you on a video call.